


PETTICOAT PROJECT – Drawstring Bag
Posted on: 29.07.2025
Plastic Free July’s got us all inspired to ditch the throwaways for a sustainable swag-bag. And with the Lane repping 15 independent textile shops, you can bet we’ll only be seen styling a Petticoat Lane exclusive. So, if you’re not afraid of a little sewing, then get ready to call yourself a fashion designer.
Want to know the best part? You can get a yard of fabric down our way for as little as £1, so this boutique beauty will only cost you a Lady Godiva.
EQUIPMENT
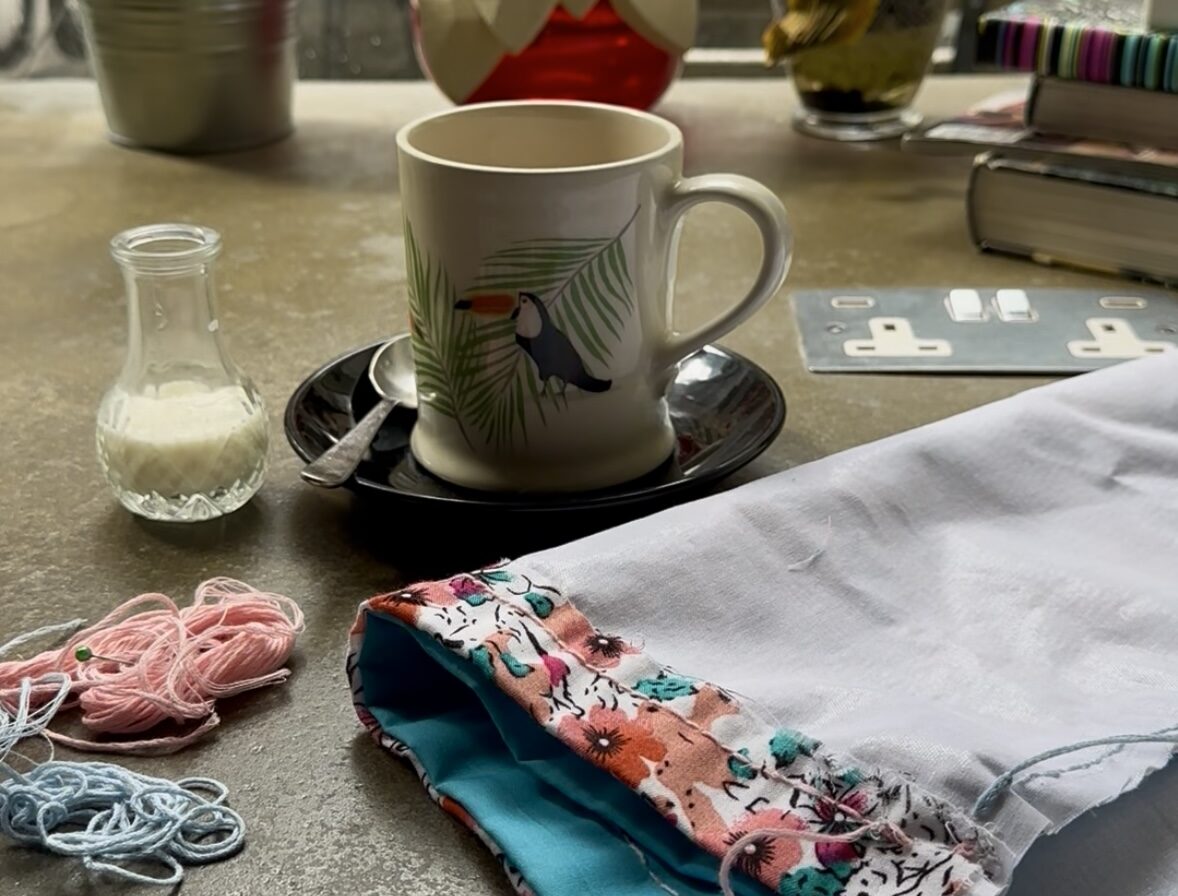
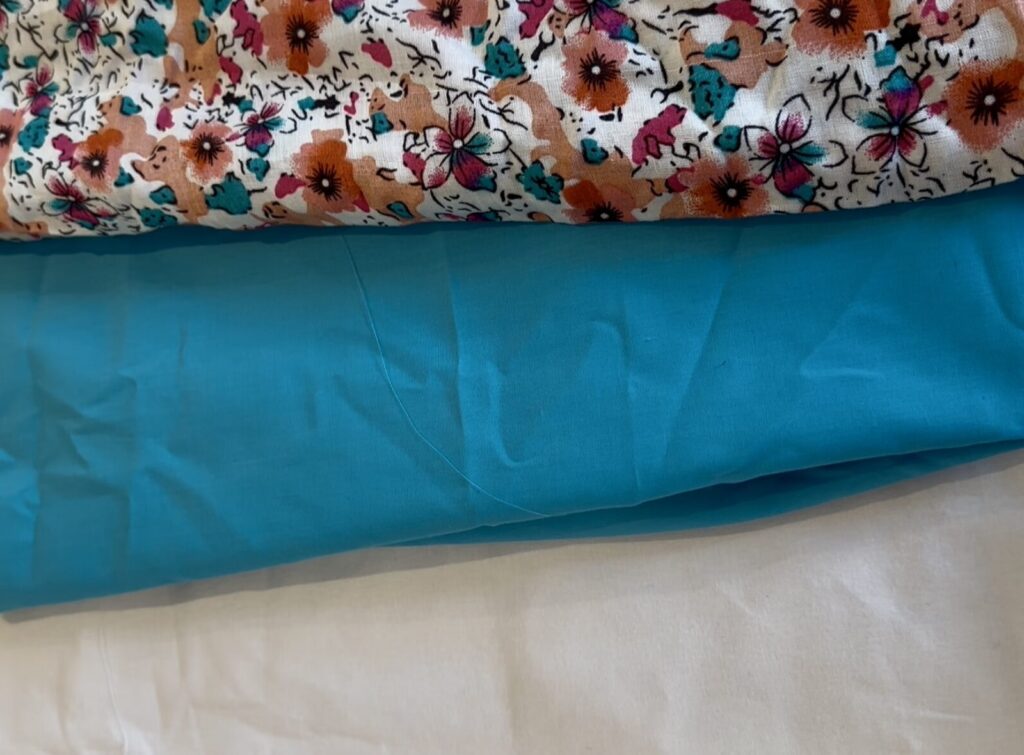
– Printed fabric of your choice
– Lining fabric
– Scissors, pencil and ruler
– Needle and thread
– Safety pin
– Ribbon
INSTRUCTIONS (scale measurements up or down as desired)
1. Cut your printed fabric into two 40 x 40cm squares.
2. Cut two 40 x 40cm squares of your lining fabric.
3. Sew one printed fabric and one lining fabric square together around all sides.
You can use an iron and hemming tape or a sewing machine if easier.
4. Repeat with your other printed and lining fabric square.
5. Measure 6cm from one side of your square. Fold it in half with the lining facing in, and pin down to create a 3cm fold.
6. This is where the ribbon will go for your drawstring, so sew a straight line, leaving the ends open.
7. Repeat steps 5 and 6 on your other square.
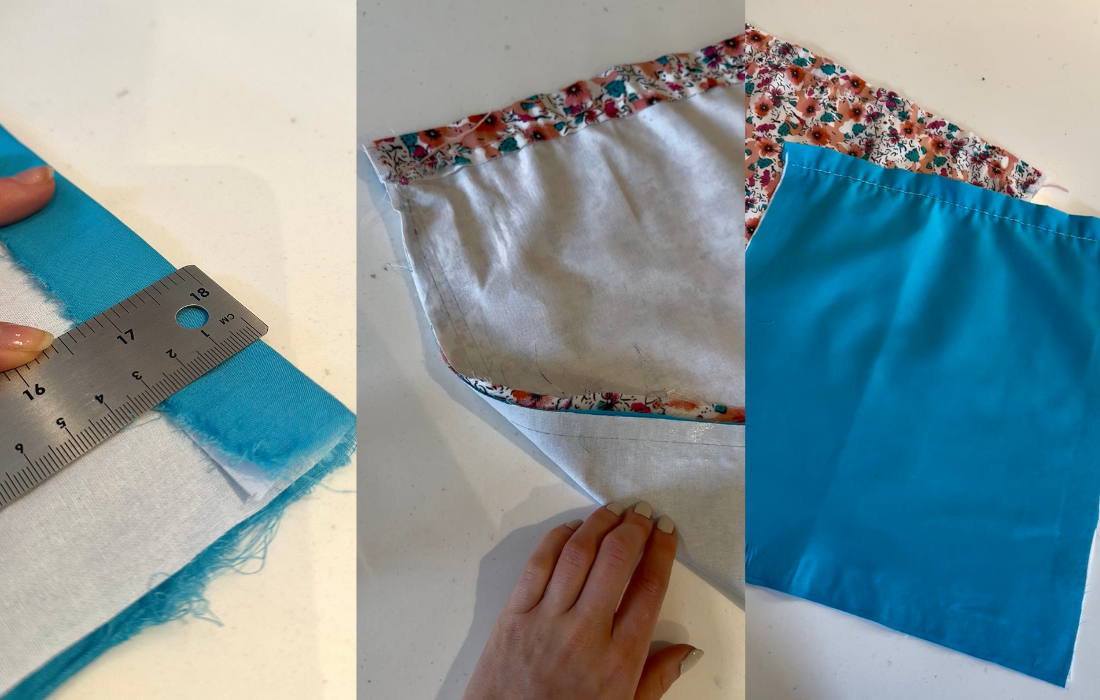
8. You will now have two squares, each with a 3cm gap at the top. Pin them together so that you now have one square with the lining faces outwards.
9. Keeping your gaps open, sew around three sides of your square, roughly 1cm from the edge.
You can do this with a sewing machine if you’re short on time, but hemming tape can’t help you here.
10. When you’ve sewn up three sides, turn (what will strongly resemble a sack) inside out. Your printed fabric will now be on the outside.
11. Cut two pieces of ribbon to 50cm each. On one piece of ribbon, fasten your safety pin at the end.
12. The safety pin will help you feed the ribbon through the gap you left in step 6. Feed it through one side, then back through on the other side. Remove the safety pin, trim if necessary and tie the ends of the ribbon together.
13. Repeat step 12 with your other piece of ribbon but feed it the other way. This will mean your knots are on opposite sides, and will allow the ribbons to close the bag.
14. Lift up your handiwork, admire, and pull those drawstrings.
Well done. You just made a bag and isn’t that a great feeling.